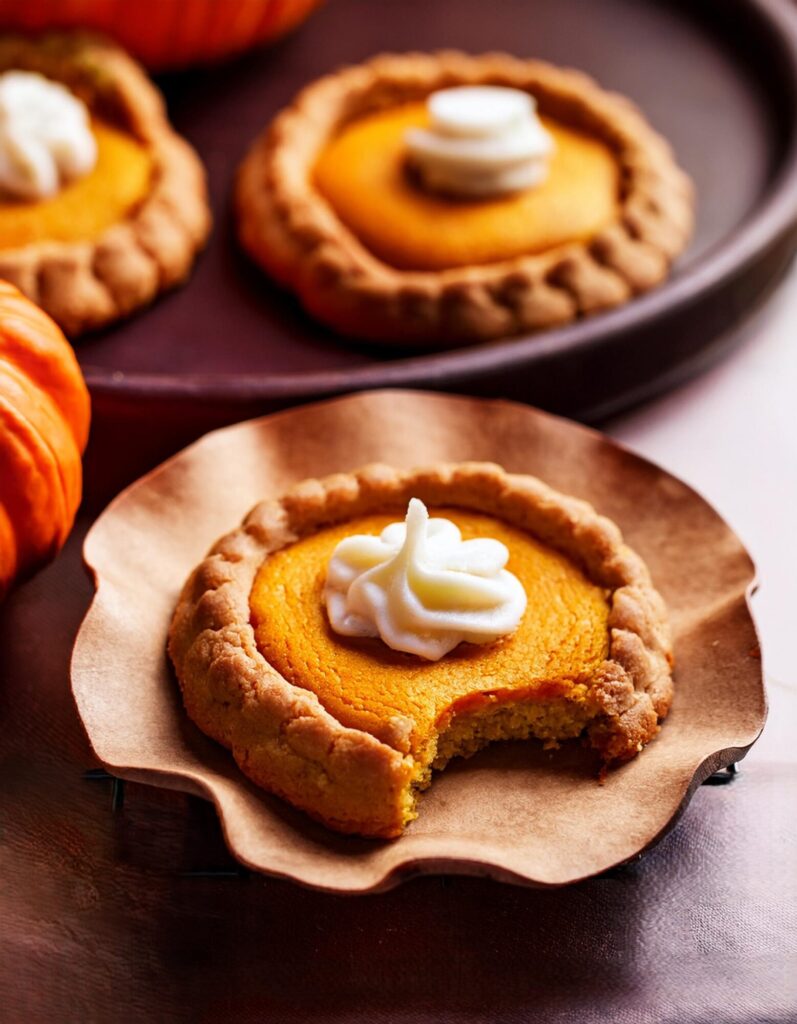
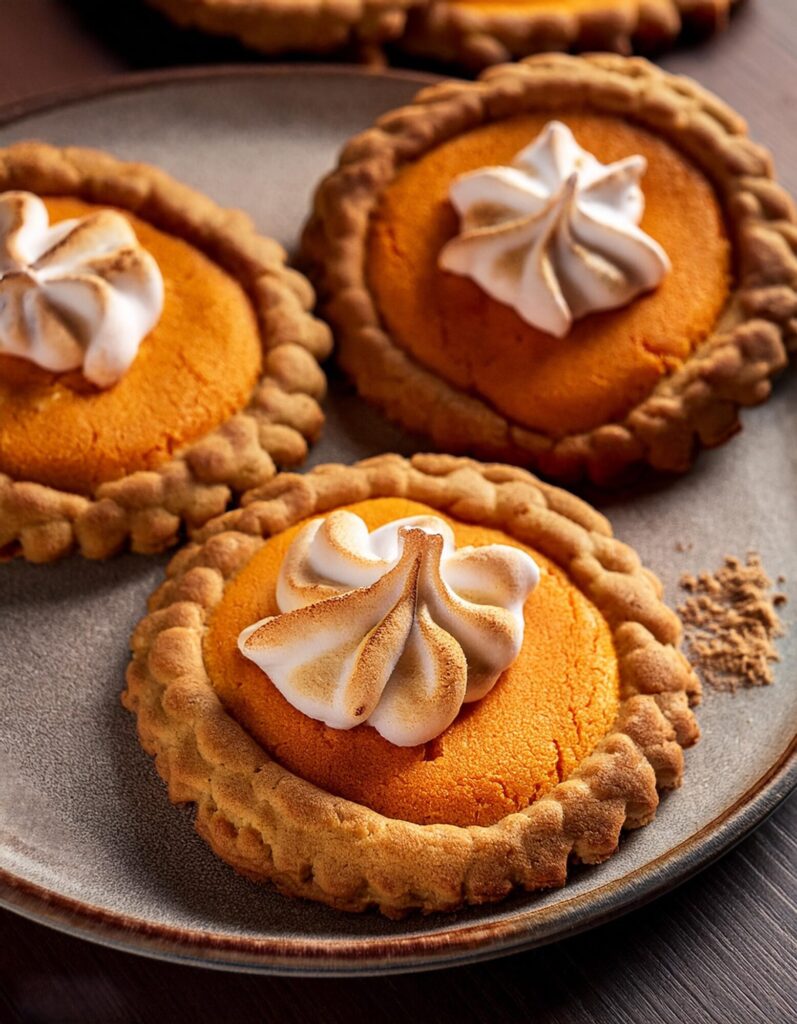
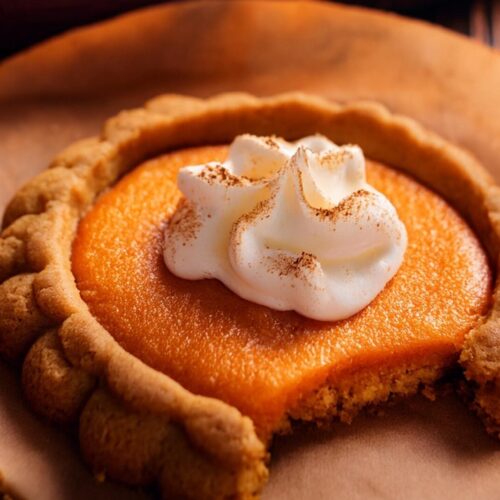
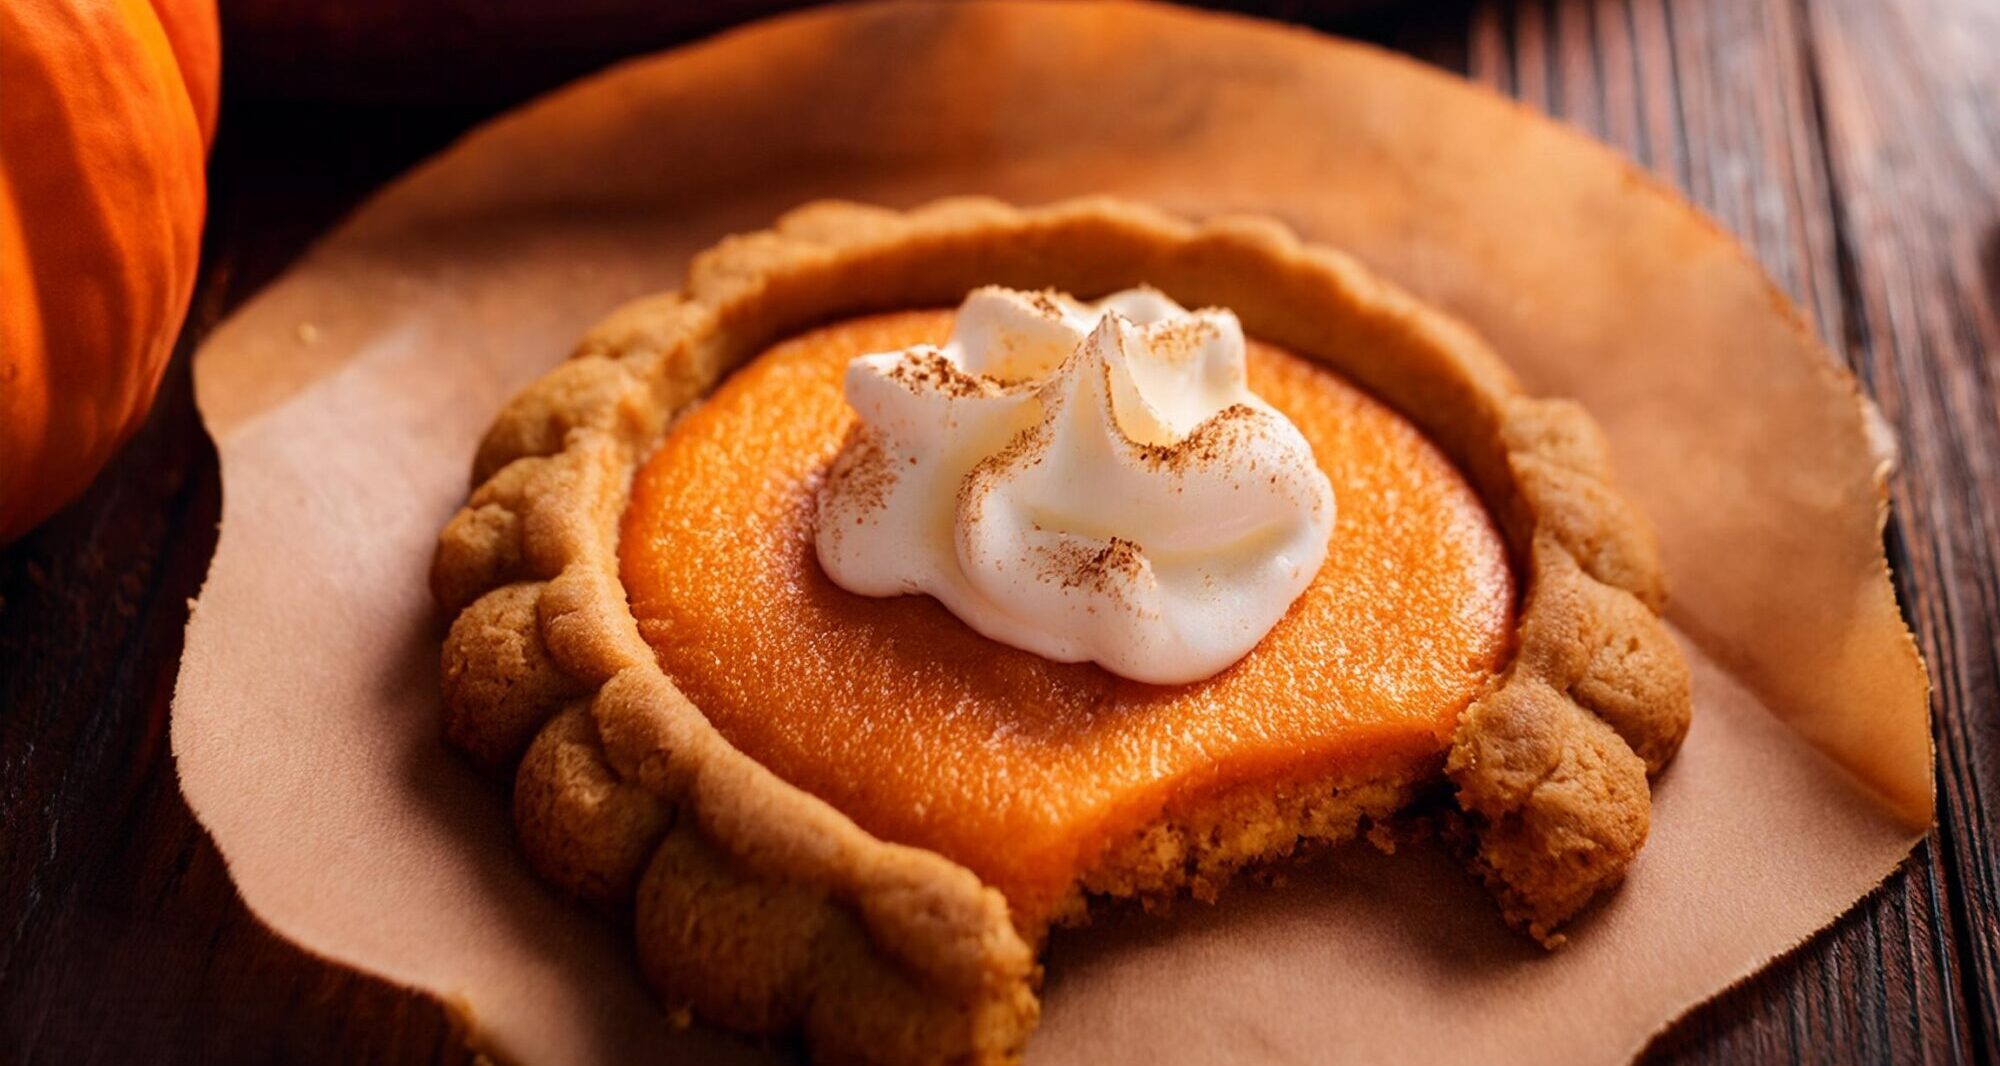
Can I be honest with you? I’ve made Pumpkin Pie Cookies more times than I can count. And guess what? My first few attempts were complete disasters. I’m talking about cookies that were so flat they might as well have been pancakes. Or cookies so soft they were more like pudding blobs. But hey, that’s the fun of baking, right? After plenty of trial and error (and a few kitchen meltdowns), I finally nailed the perfect recipe. And you know what? It’s a game-changer.
If you love Desserts as much as I do, make sure to check out my: Easy Vegan Vietnamese Sweet Soup Dessert

If you’re a fan of pumpkin pie (and let’s be real, who isn’t in the fall?), you’ll love these cookies. They’ve got all the cozy spice and flavor of your favorite pie, packed into a soft, chewy cookie. But getting there wasn’t easy, so I’m happy to share the lessons I learned along the way. Hopefully, these tips will save you some frustration and help you make the perfect batch of Pumpkin Pie Cookies the first time around.
Don’t Skip the Spice Balance in Your Pumpkin Pie Cookie
Let me start by saying this: the spice mix is everything in a good Pumpkin Pie Cookie. Early on, I made the rookie mistake of tossing in too much cinnamon, thinking “Hey, it’s fall, right? Cinnamon all the way!” Nope. The result? Cinnamon overload. The subtle, warm flavors of ginger, nutmeg, and cloves got totally drowned out.
Here’s the deal stick to the recipe’s spice blend. The right balance brings out the flavor of the pumpkin without overwhelming it. And trust me, your kitchen will smell like a fall wonderland. I’ve found that just a teaspoon of cinnamon with smaller amounts of the other spices does the trick. Oh, and one more thing always use fresh spices. If that bottle of nutmeg has been sitting in your cupboard for a couple of years, it’s probably time to replace it.
I once used some ancient cloves (who even knows how old they were) and the cookies came out tasting like bland dough. Lesson learned! Don’t be like me invest in fresh spices. It makes a world of difference.
Why Chilling Your Pumpkin Pie Cookie Dough is a Game Changer
When I first started making these cookies, I was way too impatient. The idea of chilling dough? Ain’t nobody got time for that. But after a few batches of sad, thin cookies that spread too much, I realized the hard truth: chilling the dough is a must.
If you’re aiming for that perfect, chewy texture, giving the dough at least 30 minutes in the fridge helps the cookies hold their shape. I’ve tried skipping this step (because who doesn’t want cookies ASAP?), and I always regret it. Trust me, waiting a bit makes a huge difference.
One time, I skipped the chill time because, well, Netflix was calling, and my cookies turned into pancake-like blobs. I couldn’t believe how much they spread! Since then, I’ve made chilling part of my routine. Now, when the dough’s chilling, I get a chance to clean up or binge-watch that show guilt-free.
Pumpkin Purée vs. Pumpkin Pie Filling: What’s Best for Pumpkin Pie Cookies?
This one’s crucial. One time, I grabbed a can of pumpkin pie filling instead of purée, thinking they were basically the same thing. Spoiler alert: they’re not. The filling has added sugars and spices that completely throw off the recipe. What you want is plain, unsweetened pumpkin purée it gives you control over the sweetness and spices.
The purée brings moisture, but you don’t want too much of it. I’ve found that half a cup is just the right amount to give you that pumpkin flavor without making the cookies soggy. Too much pumpkin, and your cookies end up mushy in the middle not fun.
And yes, I made that mistake too. I once added almost an entire can of pumpkin purée thinking, “More pumpkin equals more flavor, right?” Wrong. It was a sloppy, pumpkin-flavored disaster. Stick with the half-cup rule, and you’ll be golden.
How Butter Affects the Perfect Pumpkin Pie Cookie
Okay, so here’s a little baking truth I learned after making these cookies over and over: butter can make or break your cookies. I’ve tried this recipe with melted butter, cold butter, and even margarine when I was in a pinch (don’t recommend that). What works best? Softened, room-temperature butter.
When your butter is too soft or melted, the cookies end up too flat and greasy. And if it’s too cold, the dough doesn’t mix well. Leaving your butter out for about 30 minutes before you start baking is the sweet spot. It gives you that creamy, fluffy batter we all want.
I learned the hard way. One time, I melted my butter thinking it would make mixing easier big mistake. My cookies turned out like greasy pancakes. Since then, I’m careful to soften the butter properly. It’s one of those little things that make a huge difference.
Avoid Tough Pumpkin Pie Cookies by Mastering the Mixing Technique
This was a hard lesson for me. I used to think the longer I mixed the dough, the better it would turn out. I mean, more mixing means everything gets combined better, right? Wrong. Overmixing leads to tough, dense cookies, and nobody wants that.
Here’s the key: once you add the flour, stop mixing as soon as it’s combined. You just want to incorporate the dry ingredients into the wet. I usually mix for no more than 30 seconds once the flour’s in. Your dough should still be soft and a bit sticky.
There was one time I got a little too enthusiastic with the mixing. I kept going for a couple of minutes after adding the flour, thinking I was making sure everything was combined. What came out of the oven? Cookies that were more like dense bread rolls. Lesson learned less is more when it comes to mixing!
The Ideal Baking Time for Soft and Chewy Pumpkin Pie Cookies
I’ve ruined a good number of cookies by either baking them too long or not long enough. These cookies are tricky because you want them to be soft, but you also don’t want them to be raw in the middle. The sweet spot? About 10-12 minutes at 350°F.
One trick I’ve learned is to pull them out when the edges are set, but the center still looks a little underdone. They’ll keep baking on the sheet as they cool. If you wait until they look fully baked in the oven, they’ll end up too firm once they cool.
I can’t tell you how many times I overbaked these cookies because I waited until they looked completely done in the oven. They were hard as rocks by the time they cooled. Now, I err on the side of slightly underbaking, and they come out soft and perfect every time.
Add Cinnamon Sugar Topping to Elevate Your Pumpkin Pie Cookie
This might seem like a small thing, but sprinkling a little cinnamon sugar on top of the cookies before baking takes them to the next level. It adds a tiny bit of crunch and an extra hit of sweetness. I didn’t do this the first few times, and when I finally tried it, I couldn’t believe the difference. It’s like the cookie version of the sugar on top of a pumpkin pie crust. Just a little sprinkle makes these cookies look (and taste) extra special.
I like to mix cinnamon and sugar in a small bowl, then dust it on just before popping the cookies in the oven. It adds such a nice finish, and the subtle crunch complements the soft cookie perfectly. Plus, who doesn’t love a little extra cinnamon in their fall treats?
How to Keep Your Pumpkin Pie Cookies Soft for Days
There’s nothing worse than baking a big batch of cookies and having them dry out the next day. These Pumpkin Pie Cookies are meant to stay soft, but they can dry out if you’re not careful. I’ve learned to store them in an airtight container with a slice of bread.
Yeah, I know it sounds weird, but the bread gives off moisture that keeps the cookies soft without making them soggy. It works like magic! You can also freeze the dough in balls and bake fresh cookies whenever you’re in the mood. Just add a couple of extra minutes to the baking time if you’re baking from frozen.
The first time I heard about the bread trick, I thought it was a joke. But after trying it, I was amazed. My cookies stayed soft for days! Now, it’s my go-to method for keeping baked goods fresh.
Pumpkin Pie Cookie Icing Drizzle: An Optional But Delicious Add-On
This is one of those things I avoided for a while because I thought it was too fancy. But adding a simple icing drizzle takes these cookies from good to “Wow, did you make these?!” I mix powdered sugar with a little milk and vanilla to make a quick icing.
Drizzle it over the cooled cookies, and suddenly, your fall cookies look bakery-quality. It’s like when you see a cookie in the window and just have to have it. Yeah, that’s what the icing does. Plus, it adds an extra layer of sweetness that pairs perfectly with the spices.
Customizing Your Pumpkin Pie Cookie Recipe: Add Your Favorite Mix-ins
One of the best parts about these Pumpkin Pie Cookies is how customizable they are. Once you’ve mastered the basic recipe, feel free to experiment. Add chopped pecans or walnuts for some crunch, or even white chocolate chips for extra sweetness.
I’ve even thrown in a handful of cranberries for a tart contrast, and they turned out great! The possibilities are endless, so don’t be afraid to get creative. Baking is all about making something you love, so put your own spin on it!

Conclusion
So, there you have it my hard-earned lessons for making the perfect Pumpkin Pie Cookies. If you follow these tips, you’re going to end up with cookies that are soft, chewy, and packed with fall flavor. Whether you’re making them for a holiday party or just a cozy night in, these cookies are a guaranteed hit. 🎃
Remember, the key is in the details the spice mix, chilling the dough, and nailing the bake time all make a huge difference. And don’t be afraid to make the recipe your own with fun add-ins and toppings. I’d love to hear how your cookies turn out or if you have any other tips let me know in the comments! Happy baking! 😋

10 Lessons I Learned Making the Perfect Pumpkin Pie Cookie Recipe
Ingredients
- 3/4 cups all-purpose flour
- 1 tsp baking powder
- 1/2 tsp baking soda
- 1/2 tsp salt
- 1 tsp ground cinnamon
- 1/2 tsp ground ginger
- 1/4 tsp ground cloves
- 1/4 tsp ground nutmeg
- 1/2 cup unsalted butter, softened
- 1 cup brown sugar, packed
- 1/4 cup granulated sugar
- 1/2 cup pumpkin puree not pumpkin pie filling!
- 1 egg
- 1 tsp vanilla extract
- Cinnamon sugar for sprinkling, icing glaze Optional toppings
Instructions
- Before you even touch the ingredients, make sure your oven is preheated to 350°F (175°C) and line your baking sheets with parchment paper. I’ve made the mistake of forgetting this step too many times, and scrambling while the dough is ready to go is a pain!
- In a medium bowl, whisk together your flour, baking powder, baking soda, salt, cinnamon, ginger, cloves, and nutmeg. This is your flavor base, and trust me, the balance of spices here is key. I’ve played around with more cinnamon, but it can easily overpower the other flavors — so stick to the recipe, at least the first time!
- In a larger bowl, beat together the softened butter, brown sugar, and granulated sugar until the mixture is light and fluffy. This step is so satisfying watching butter transform into a creamy, sugary dream makes me feel like a real baker. Be patient, though; this process usually takes around 2-3 minutes.
- Add in the pumpkin puree, egg, and vanilla extract to the butter-sugar mixture. Beat on medium speed until well combined. At this point, the batter might look a little curdled, but don’t worry that’s totally normal! The pumpkin brings moisture, so it’ll all come together in the next step.
- Gradually add the dry ingredients to the wet mixture. I like to do this in thirds, mixing on low speed after each addition. Here’s a tip: don’t overmix! Once the flour disappears, stop. Overmixing leads to tough cookies, and we’re aiming for soft and chewy here.
- This step isn’t 100% necessary, but chilling your dough for 30 minutes will help the cookies hold their shape better while baking. I’ve skipped this in the past when I was impatient (who hasn’t?), but the cookies always turned out a little thinner than I liked. Your call!
- Using a cookie scoop or spoon, drop the dough onto the prepared baking sheets. Aim for about 2 tablespoons of dough per cookie. If you want to get fancy, roll them into balls for a uniform look. And here’s where the optional cinnamon-sugar sprinkle comes in lightly dust the tops for some added fall flair!
- Pop the cookies into your preheated oven and bake for 10-12 minutes. Keep an eye on them you want the edges to be set but the centers to still look soft. My trick is to take them out when they seem slightly underdone; they’ll finish baking on the sheet after you take them out.
- Let the cookies cool on the baking sheet for about 5 minutes before transferring them to a wire rack. They’ll firm up a bit as they cool, but remain soft and chewy in the middle. And, of course, if you can’t wait, I totally get it. I’ve burned my mouth more times than I’d like to admit by grabbing one too soon!
- Enjoy or add extras: These cookies are delicious as-is, but if you want to go the extra mile, drizzle a simple icing glaze over the top once they’ve cooled. Just mix powdered sugar with a little milk and vanilla boom, an instant fancy cookie! Perfect for sharing… or not.
Notes
- Nutrition (per cookie)
- Servings: 24 cookies


These are delicious! Tastes like little pumpkin pies. I used gluten free flour for mine.
So glad you liked the recipe!